Hier erfährst du, wie du bereits aufgenommene Bilder, Videos, Screen Recordings oder Aufnahmen in ein Projekt einfügst
Click the scene where you want to insert an existing element.
Library
If you want to insert a video, screen recording or scene that is already stored in StoryBox Cloud, click Library.

Then you choose what kind of element you want to insert.(1)
When you click on an element, you can see its content in a preview window.
To insert it into the scene, click on the white + on a light blue background (2). The element is now outlined in blue. Confirm the selection with Insert (3).

Upload
You can insert images and videos generated externally into scenes of your project.
These will be uploaded to StoryBox from a storage of your choice.
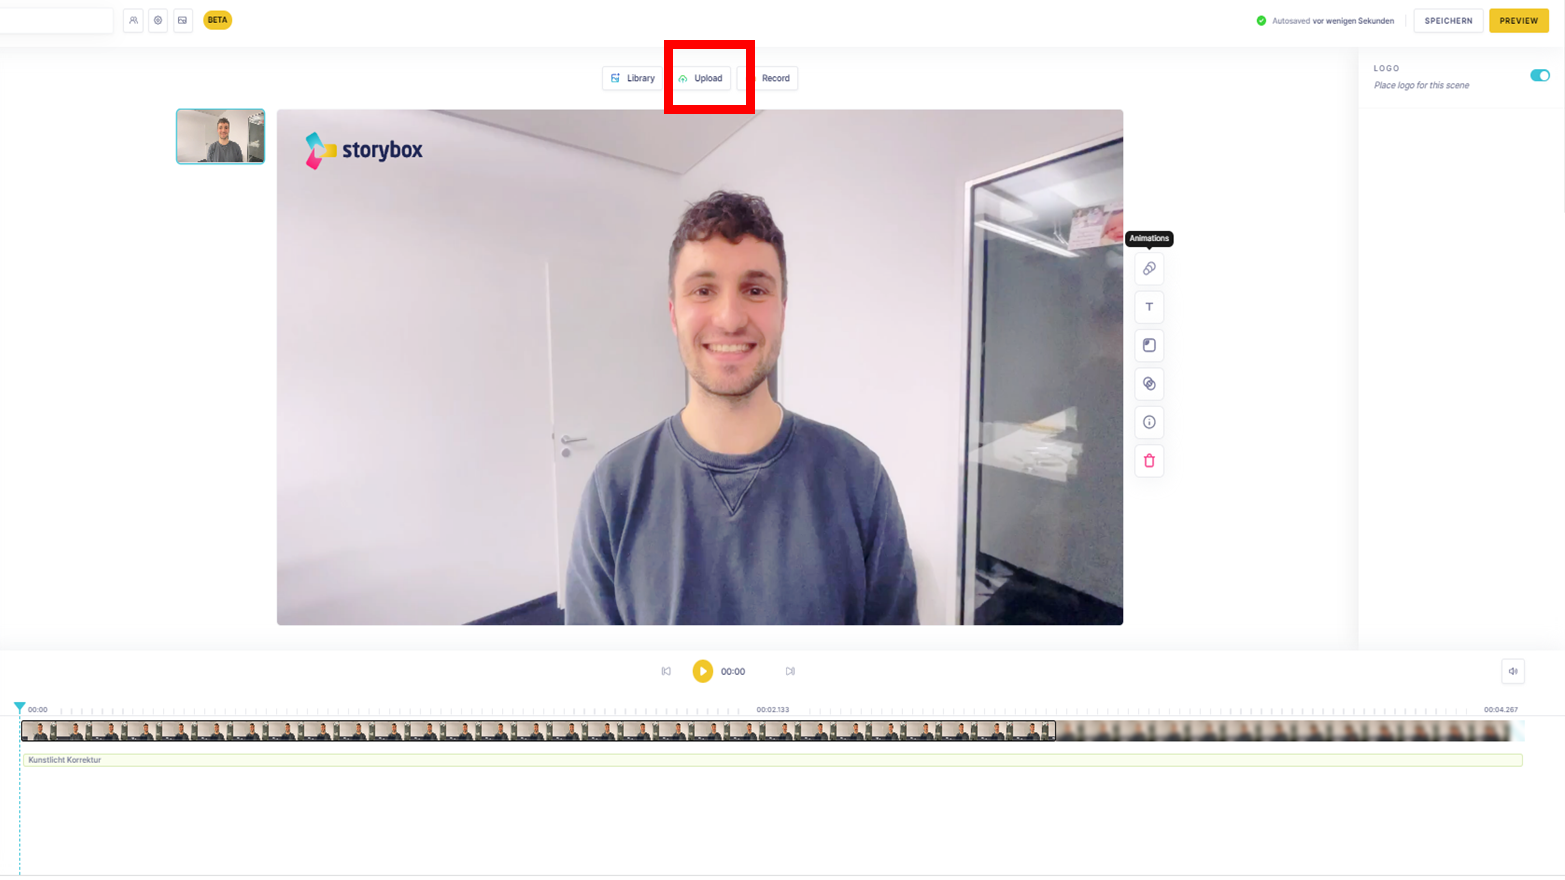
To do this, click on the scene in which you want to integrate an external file.
Then click on Upload.

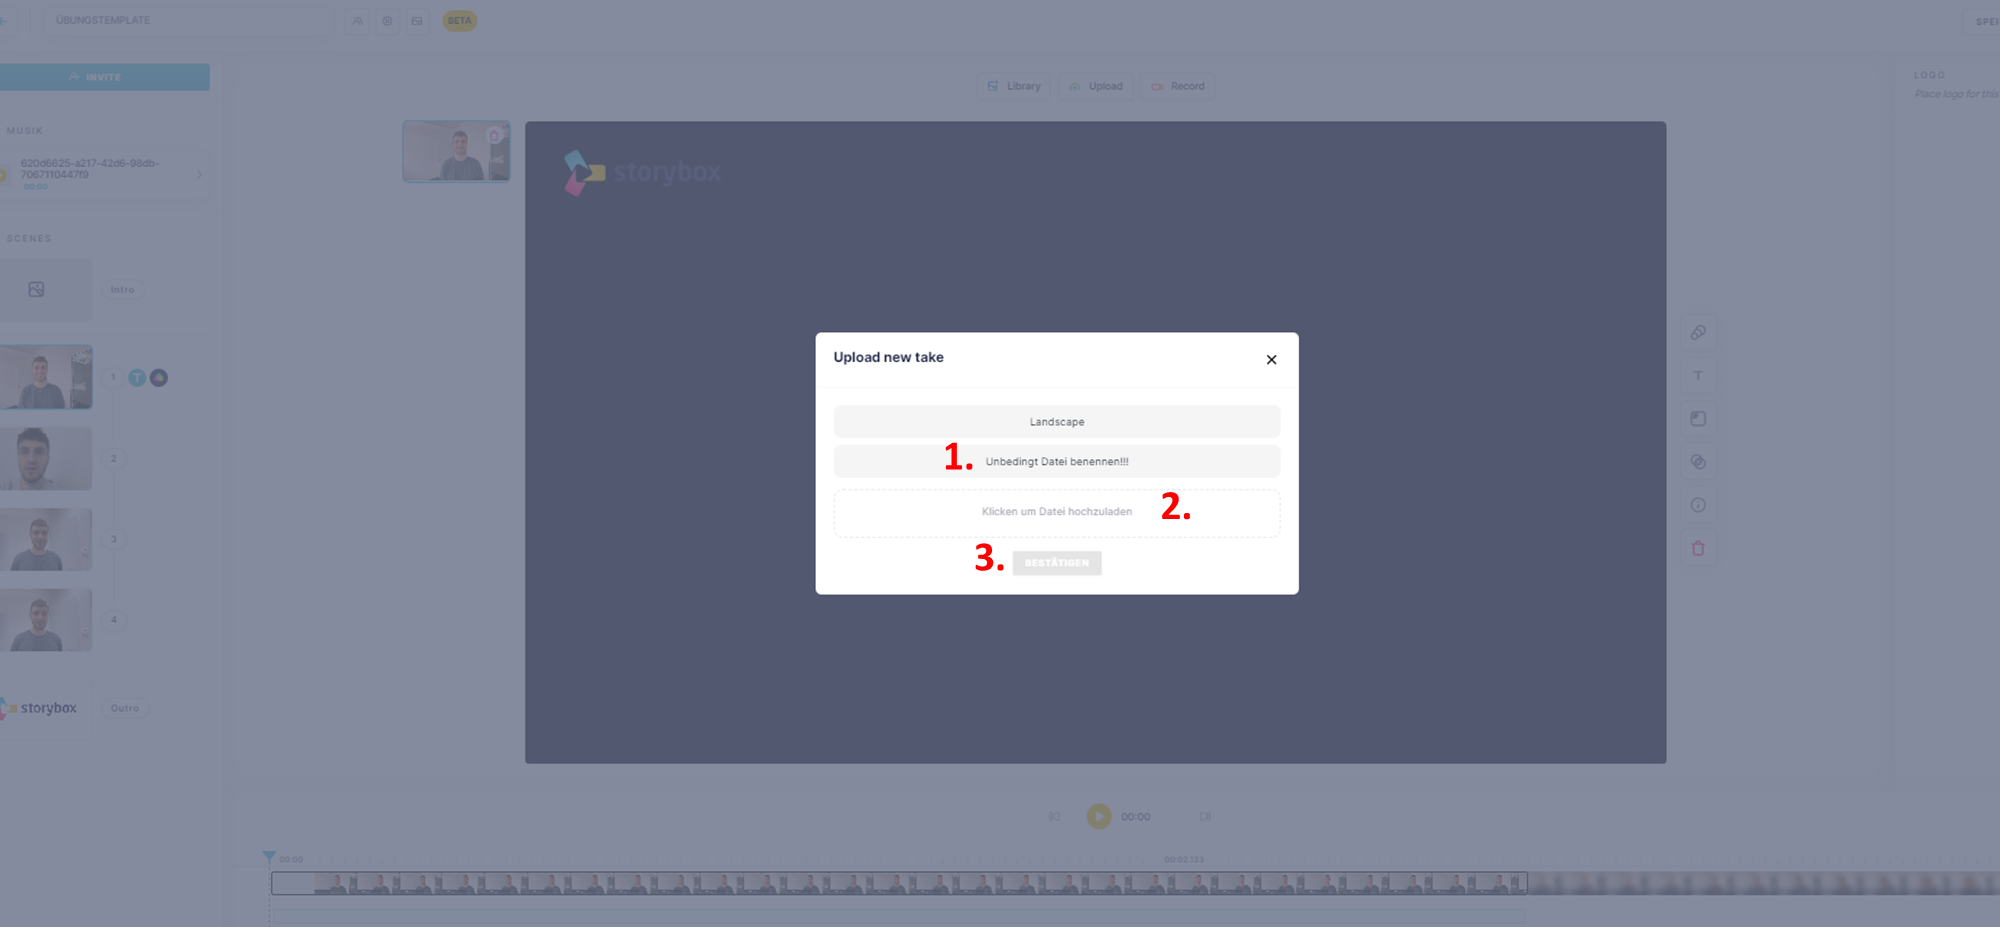
The format, e.g. landscape, is already defined by the project.
Now enter a name for the uploaded file (1) and click on Click to upload file (2). Choose the appropriate file and click CONFIRM (3) to start the upload.
The upload is only possible if you name the file you want to upload in StoryBox (Enter take name)

Videos are uploaded in their full length and can be trimmed, i.e. cropped, after uploading as desired (Aufnahme zuschneiden/trimmen im Storybox Studio).
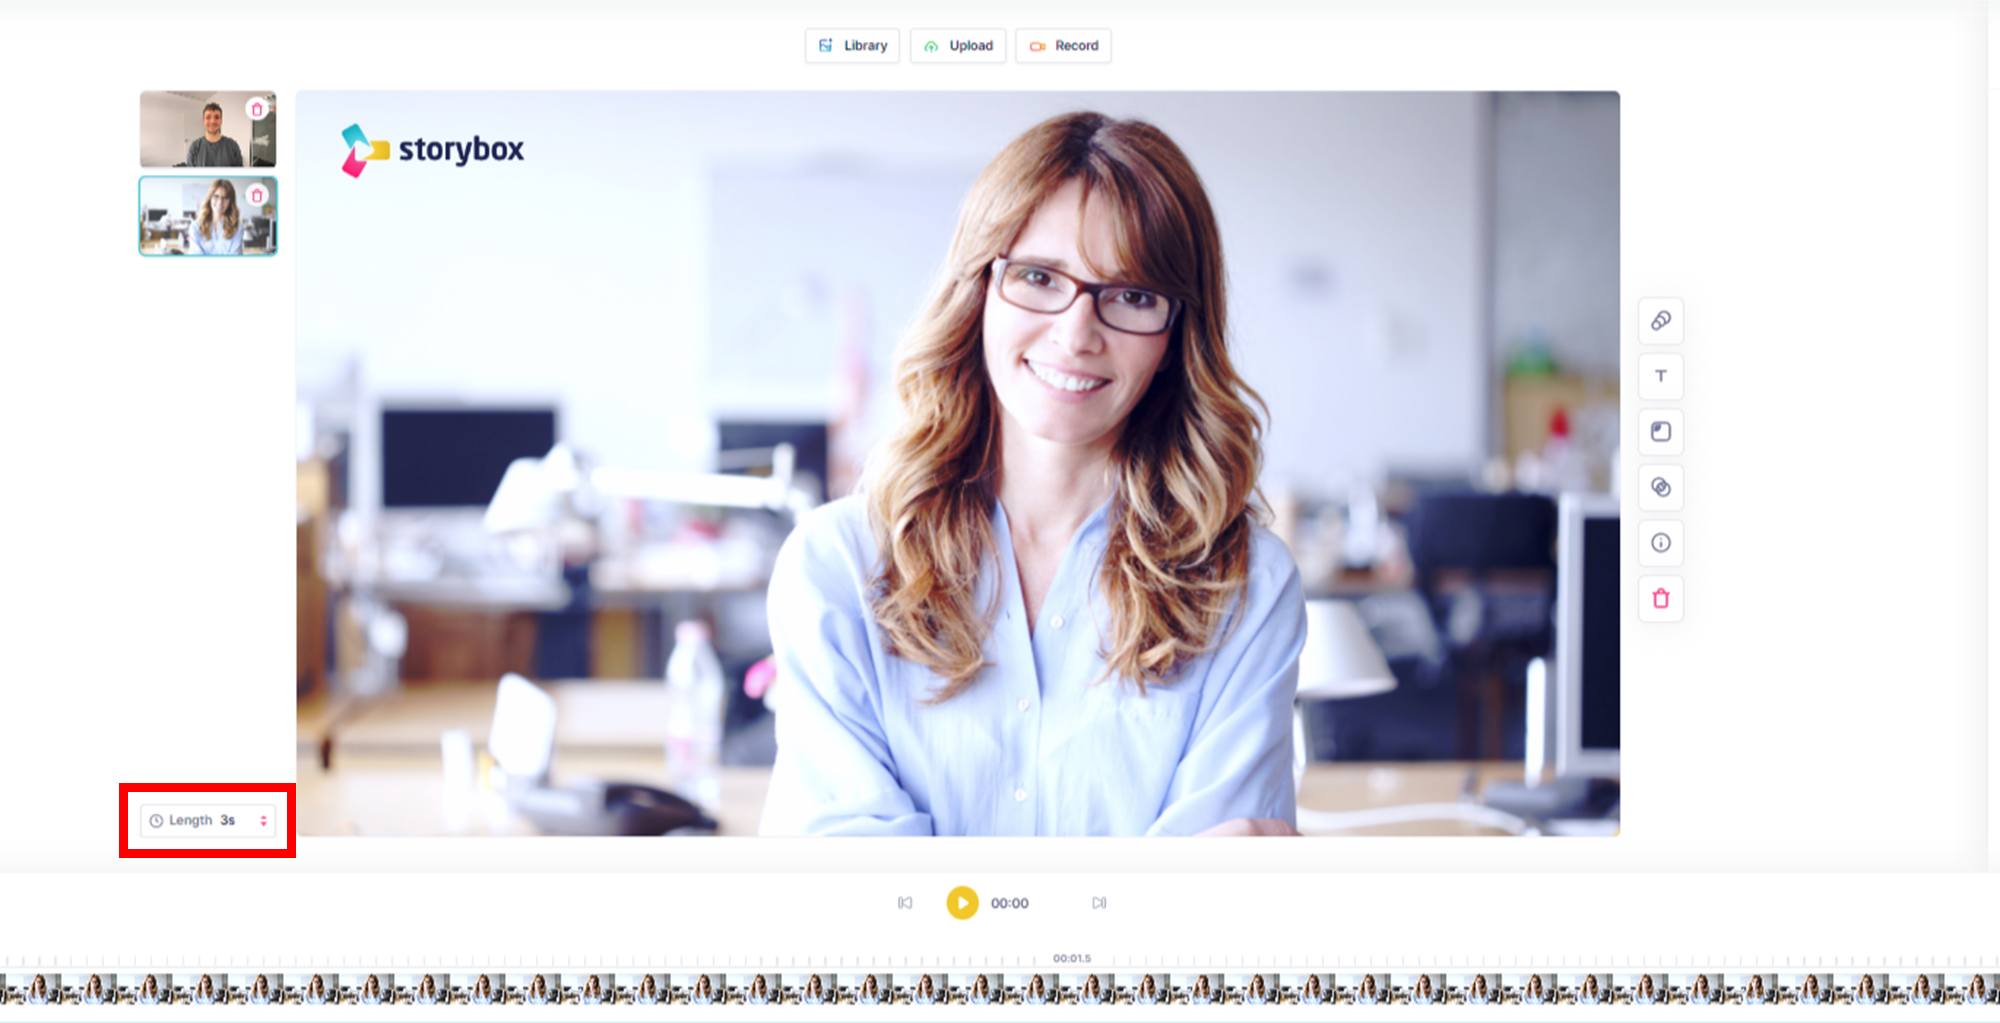
In the case of images, you can define how long the image is to be displayed in the post-processing area at the bottom left of the image.
.
