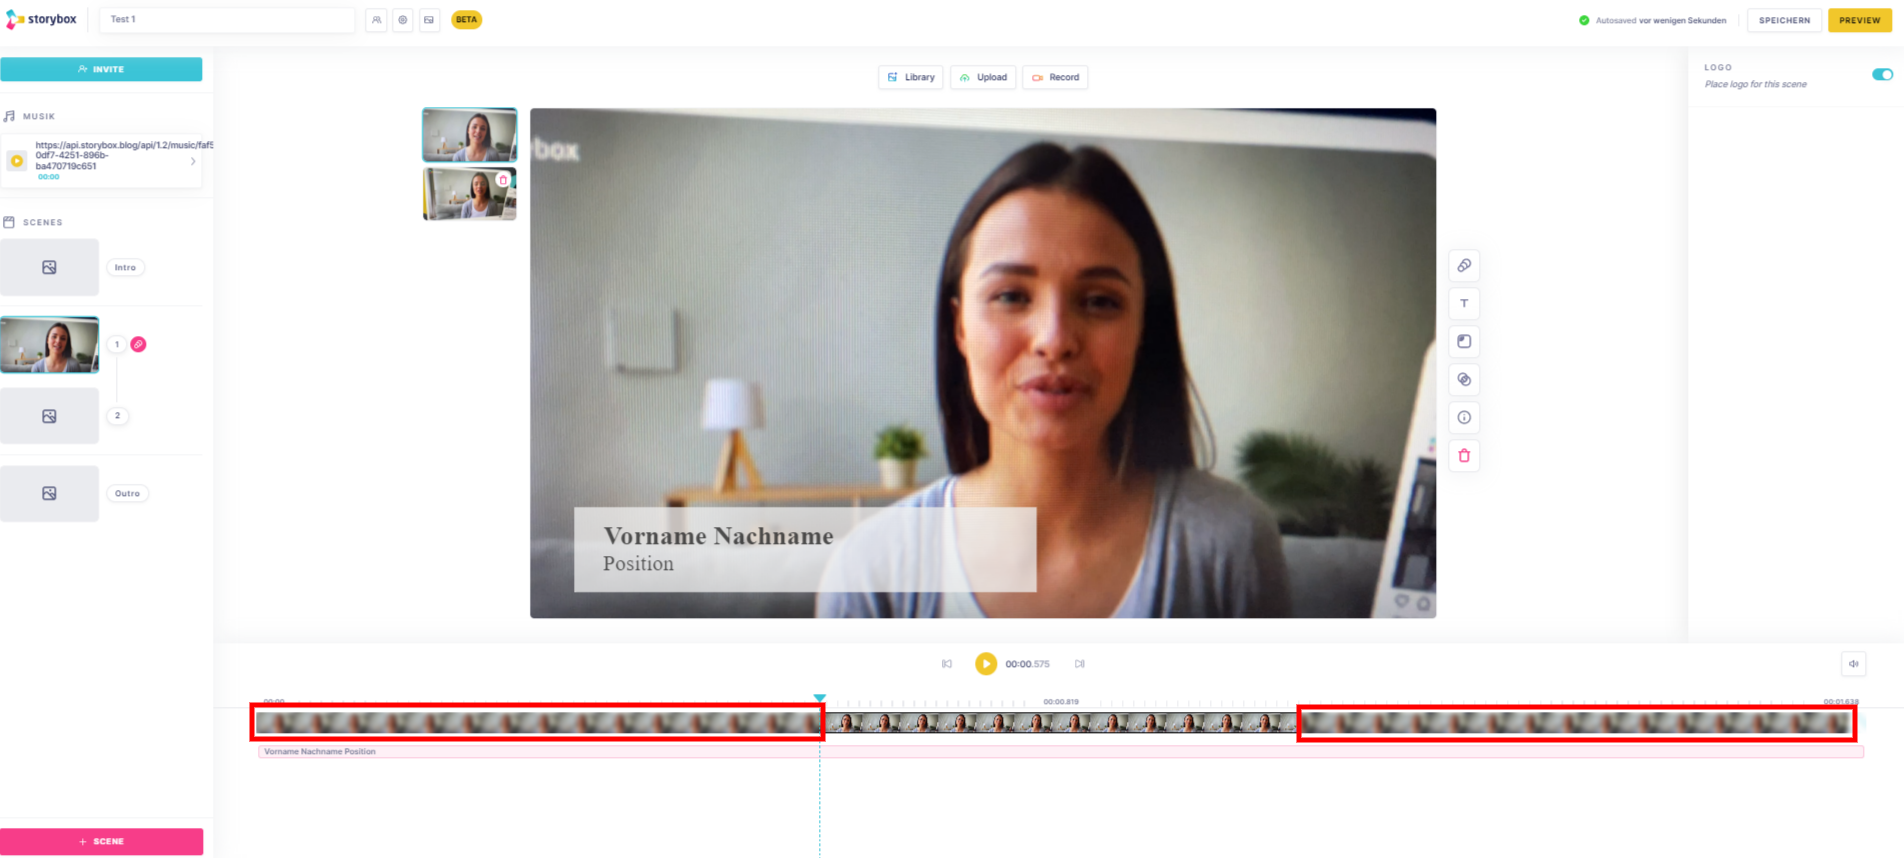
Here you can learn how to crop/trim a recording in StoryBox Studio
To do this, go to a recorded scene and select the shot you want to edit.
Select the image track by clicking on it. You can recognize its activation by the fact that it is highlighted in blue.
To crop the shot, you can move the frame from the left or right to the center to cut off the area that you don't want in the shot.

The entire recording is always synchronized.
If the recording has already been cropped/trimmed in the mobile app, the cropped area will be blurred.
This area can also be added by dragging the frame towards the outside of the screen.

For control purposes, you can play the adjusted recording directly via the play button.
Adjustments can be made continuously until you like the shot.
Wait until "Autosave successful" is displayed at the top right of the screen and an automatic save is completed or click on Save.
